Weaving Wonders: Easily Guide Your Child to Craft a Beautiful Rainbow!
Looking for a wonderful way to spend creative time with your child? This Rainbow Paper Plate Weaving offers an incredibly easy start, allowing you to quickly introduce them to a captivating and engaging activity. With just a few simple materials, you can effortlessly set the stage for creativity, fine motor skill development, and a joyful exploration of colors together. Let the colorful weaving begin!
What You'll Need:
Steps
Prepare the Rainbow Base
Simply fold one paper plate in half and make one cut along the fold. Instantly, you have the two perfect arcs for the rainbow's ends.
Create the Weaving Structure
Take the second plate and make a series of quick, straight snips (about 1-2 inches deep, an inch apart) around the curved edge. This simple step creates the perfect framework for weaving.
Start the Color Fun (Red)
Secure one end of the red yarn to the back of a semi-circle base with tape (optional). Show your child how to weave it over and under the fringes of the other plate. With this easy start, their creativity will flow!
Continue the Colorful Pattern (Orange)
Offer the orange yarn and encourage them to weave the next row just below the red. The intuitive over-and-under motion makes this step easy for them to grasp.
Guide Through the Rainbow (Yellow to Purple)
Provide the remaining colors in sequence. The visual progress of the rainbow makes it easy and exciting for your child to continue.
Complete Their Masterpiece
Once they've woven all the colors, a quick trim of any long ends is all that’s needed. Add a yarn loop if they wish to display their artwork proudly.
Finished the activity? 🎉✨
Snap your special moment, post it on social media, and don't forget to add the coolest hashtag:
#catbears
People also liked
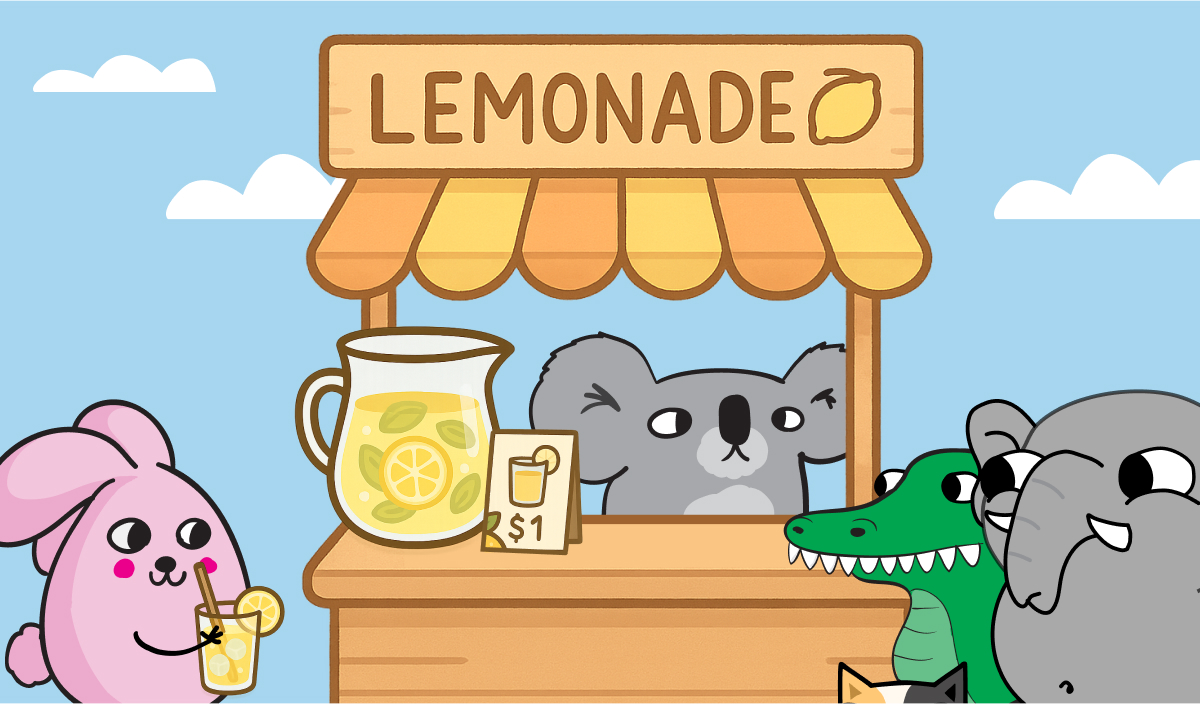
The Tastiest Lemonade in the World
A refreshing activity for kids: make sweet, delicious lemonade together with the whole family. Learn teamwork and enjoy the perfect summer drink.
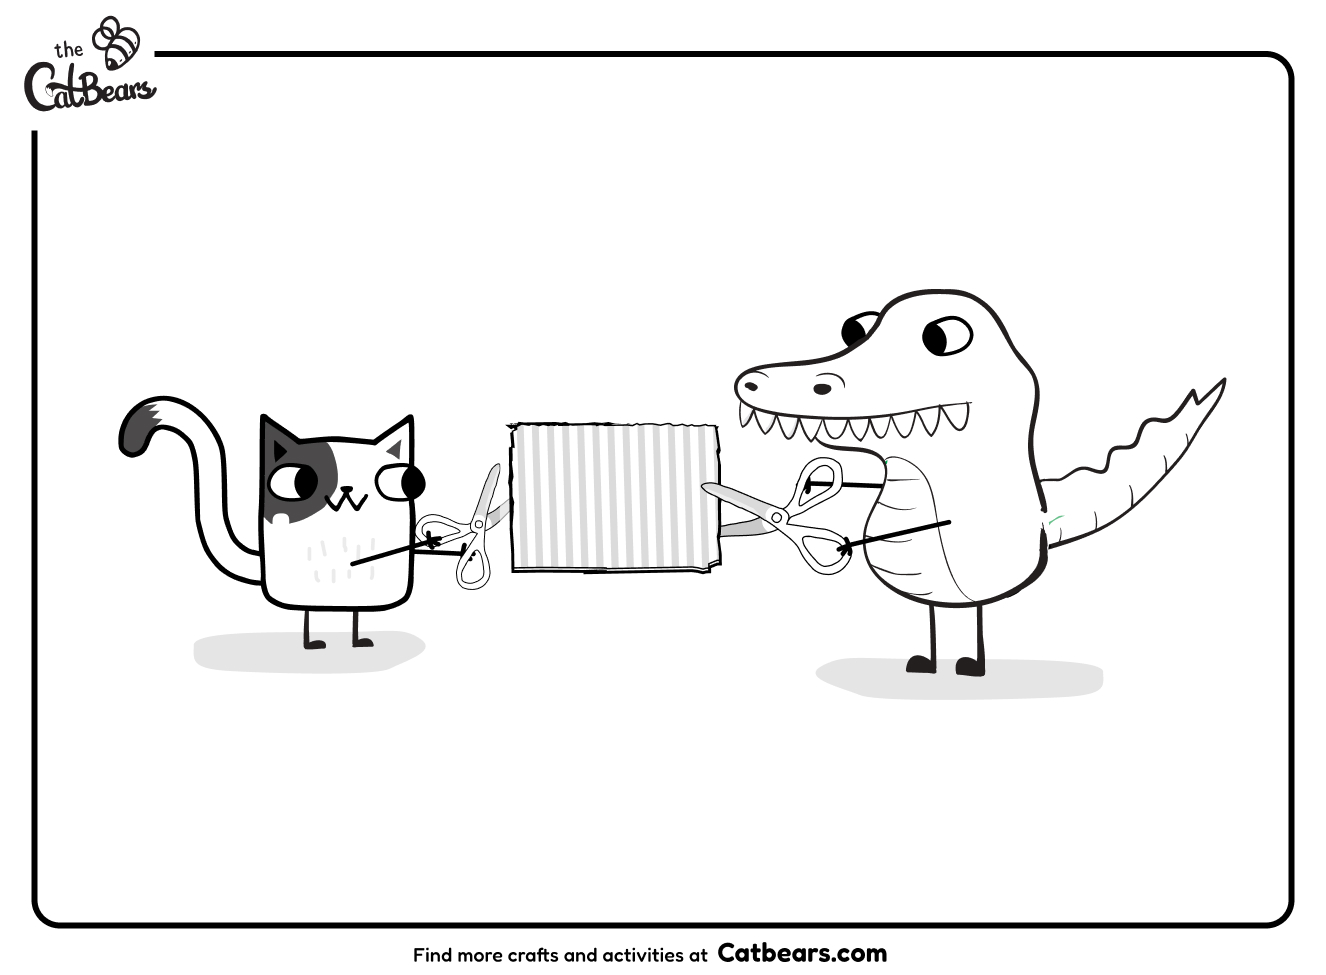
Friendship Coloring Page - Cat and Crocodile
Friendship coloring page for cat and crocodile. Print and color and give to a friend as a special gift. A fun and easy activity for kids to color.
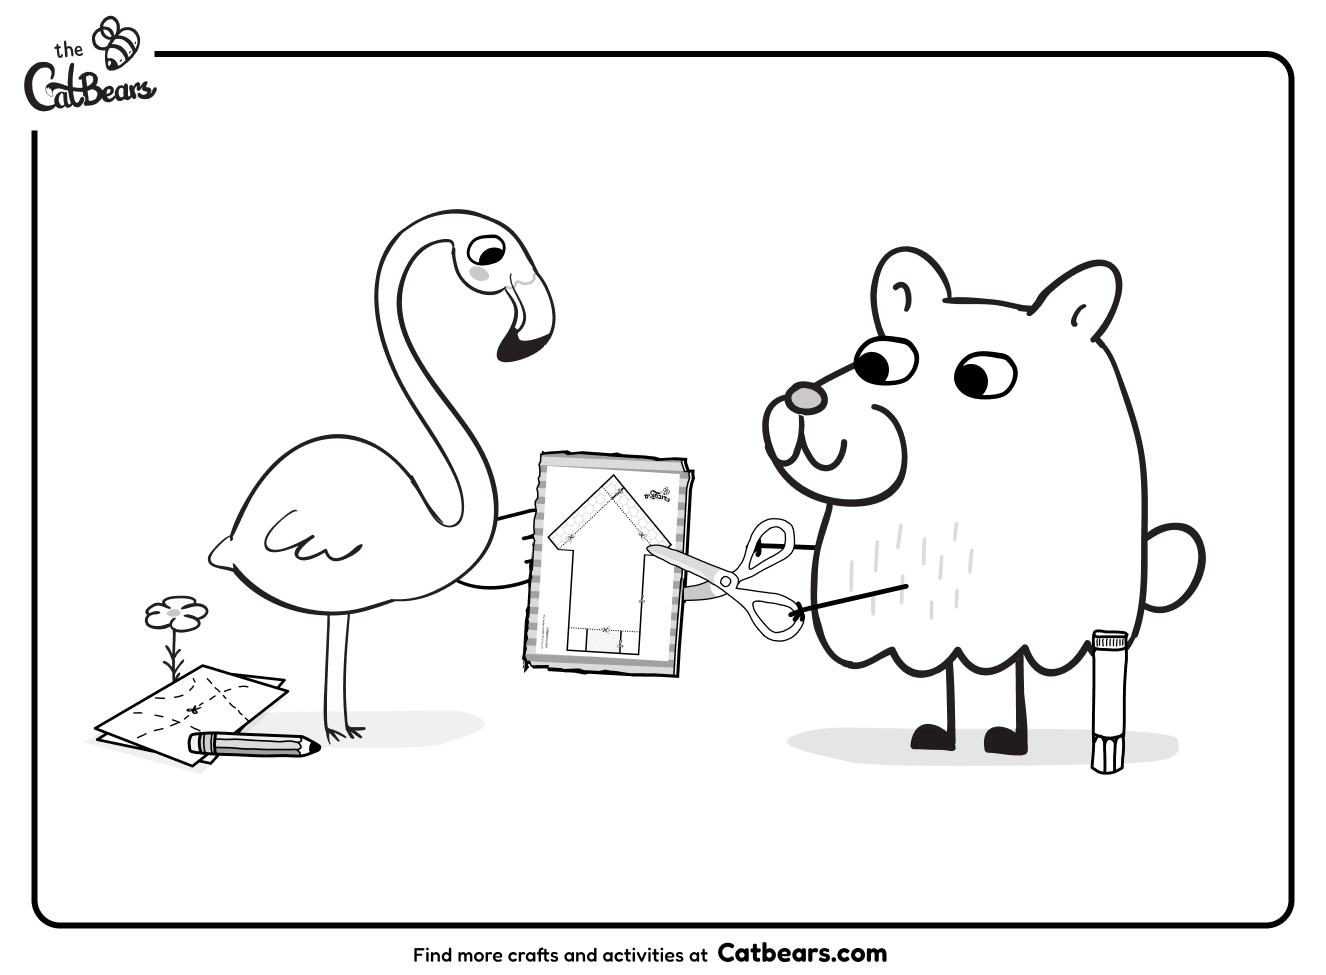
Friendship Coloring Page - Flamingo and Bear
Friendship coloring page for unicorn and bunny. Print and color and give to a friend as a special gift. A fun and easy activity for kids to color.

Friendship Coloring Page - Duck and Bunny
Friendship coloring page for duck and bunny. Print and color and give to a friend as a special gift. A fun and easy activity for kids to color.
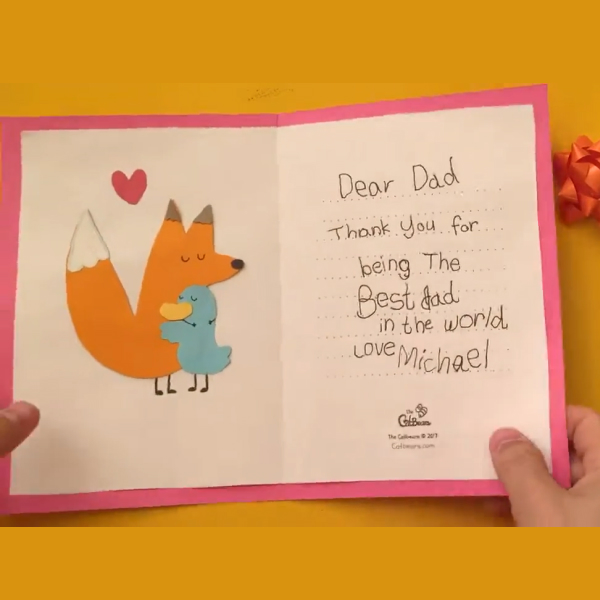
Greeting Card for Someone You Love – Creative Activity
A special card for a special someone. Create a personal greeting card for someone you love. It could be a parent, a grandparent, or a close friend.
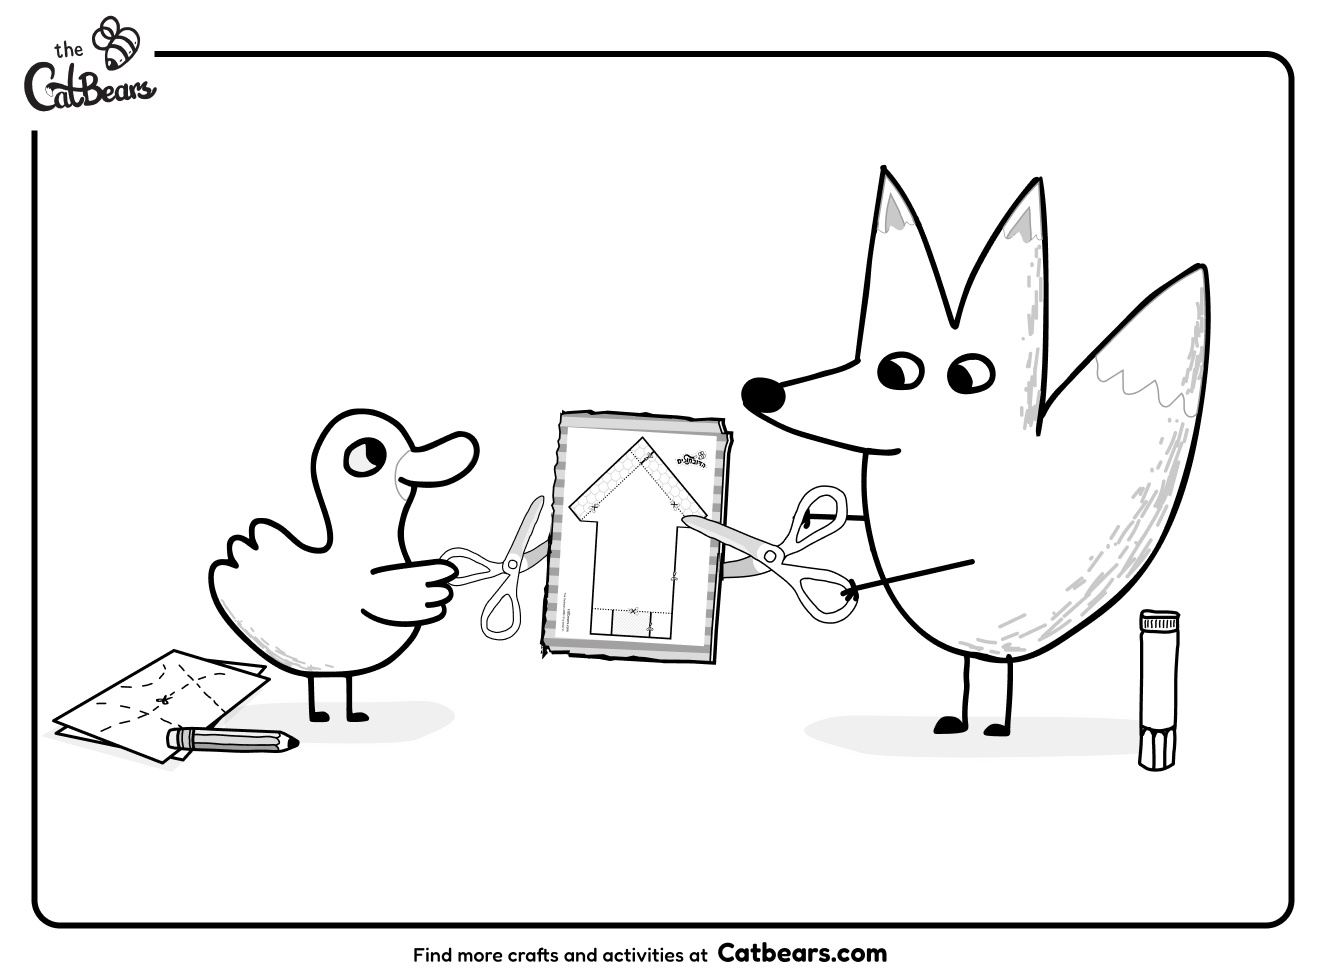
Friendship Coloring Page - Duck and Fox
Friendship coloring page for duck and fox. Print and color and give to a friend as a special gift. A fun and easy activity for kids to color.
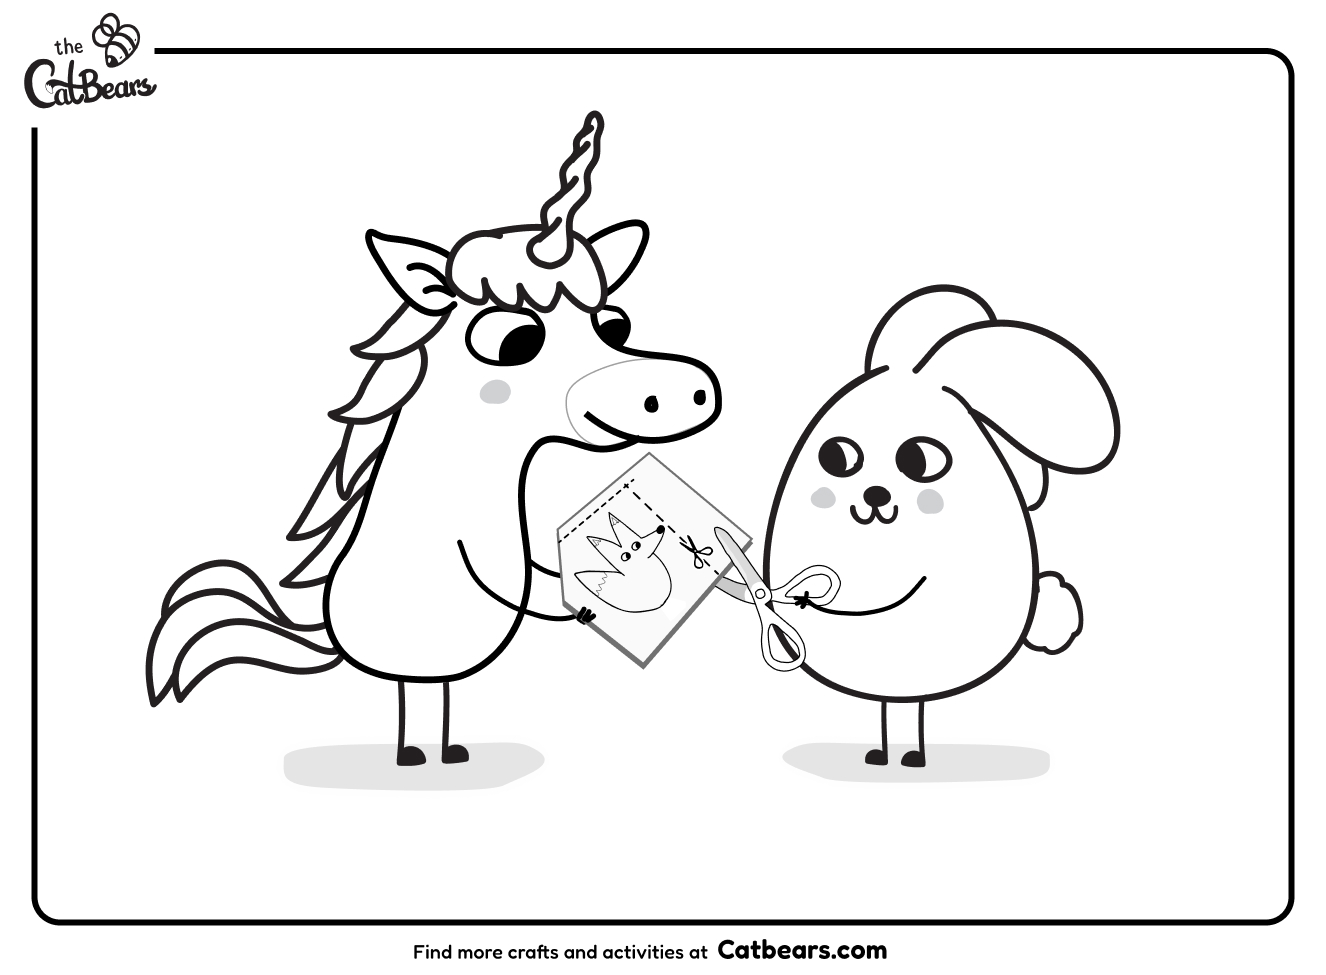
Friendship Coloring Page - Unicorn and Bunny
Friendship coloring page for unicorn and bunny. Print and color and give to a friend as a special gift. A fun and easy activity for kids to color.